John R. Bentley 2009-2019.
2008 - 2019.
John R. Bentley 2009-2019.
Model Watertube Boiler
- A miniature industrial D-type boiler -
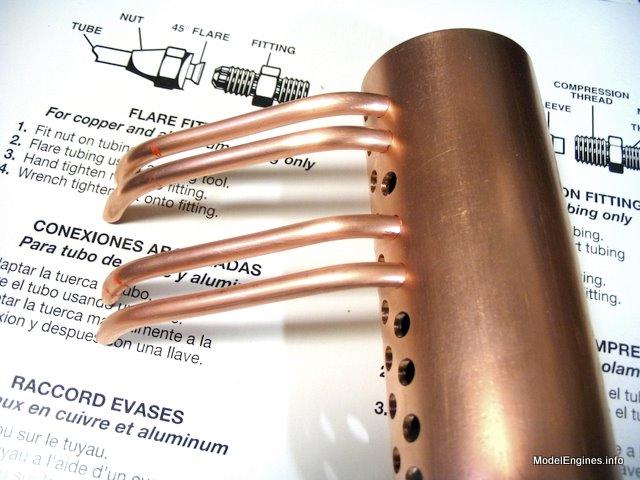
When joining metals by employing the capillarity of a filler metal with a liquidus above 840 F° (450 C°) the process is called brazing in North America. On this boiler I used a silver brazing filler metal with a liquidus of 1150 F°.
"Hard silver soldering" is often referred to here as silver brazing. This produces a very strong bond as the filler flows into the joint by capillarity and adheres to both surfaces to be joined. Properly brazed joints are stronger than the base metal (and much stronger than the filler metal).
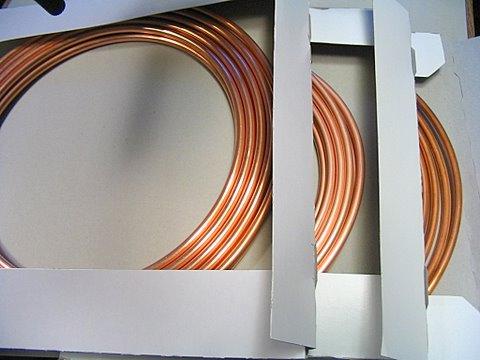
Simply melting a brass rod on top of a joint without capillarity was often erroneously referred here to as "brazing". On this continent that process is correctly called braze welding.Up to Feb 22, 2009:I picked up an extra roll of copper tube for the job(that brings my supply for the job to 50 feet - about 16 metres)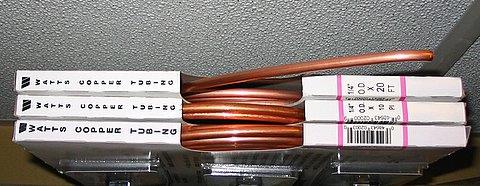
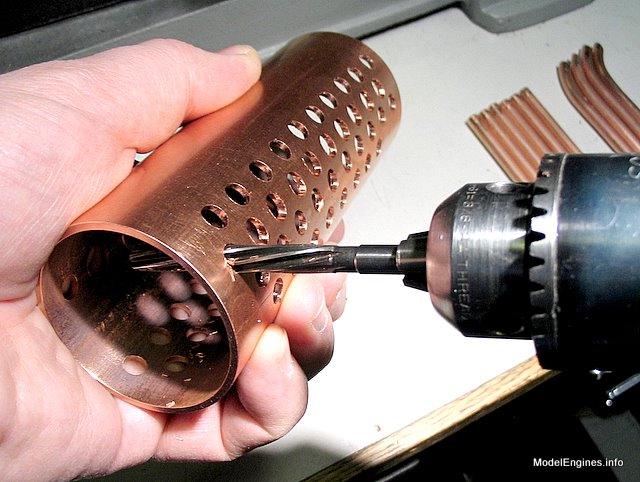
 I have been slowly reaming all the boiler tube holes in the drums for the required entry angles. It is a lot of work, making tubes, then mocking-up portions of the boiler against a drawing - just to determine these angles. The incessant hand reaming doesn't do much for my shoulder and back muscles either.Holding and turning a chuck (by hand) to get precisely the angle I need
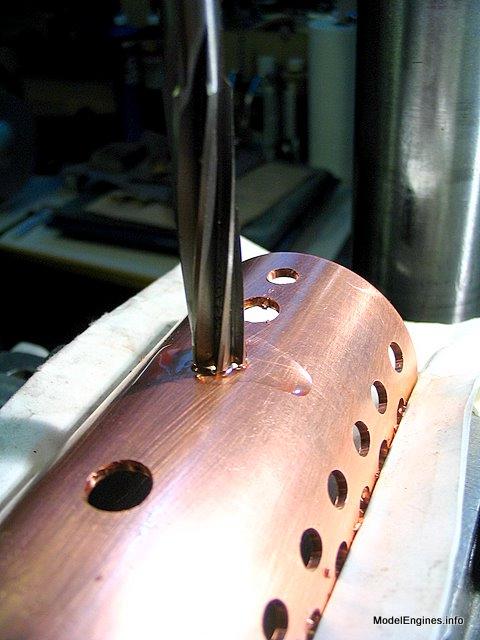
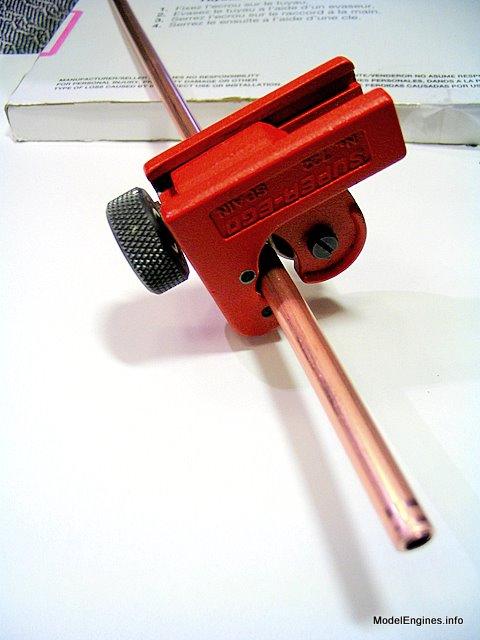
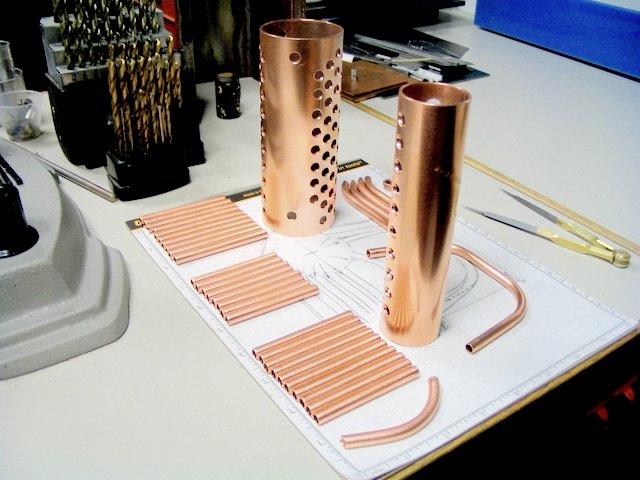
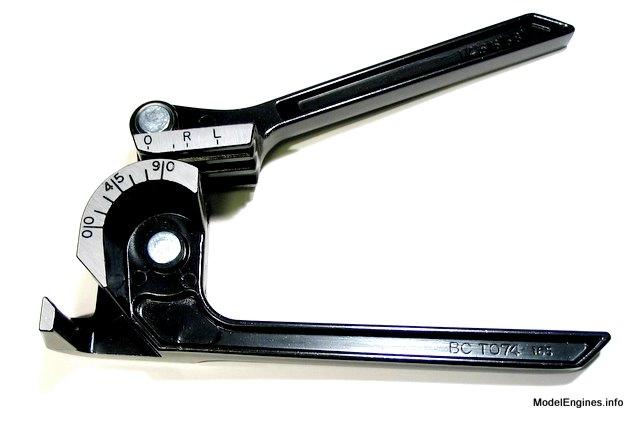
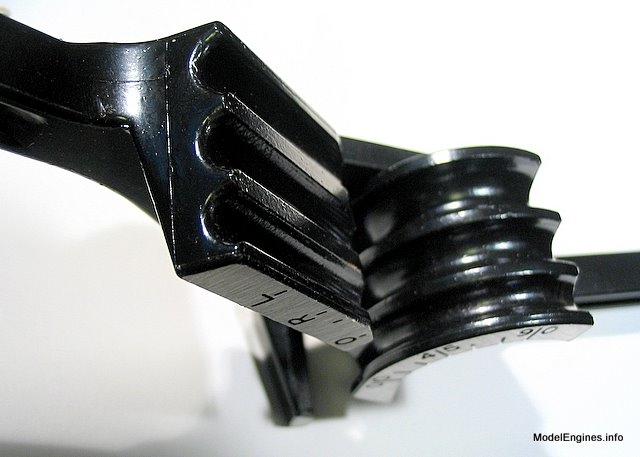
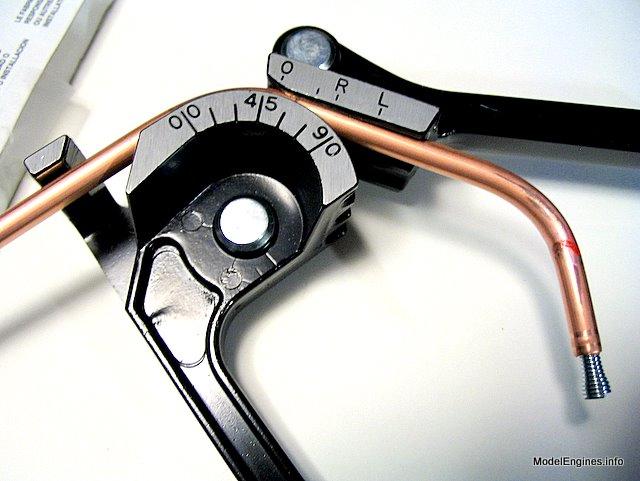
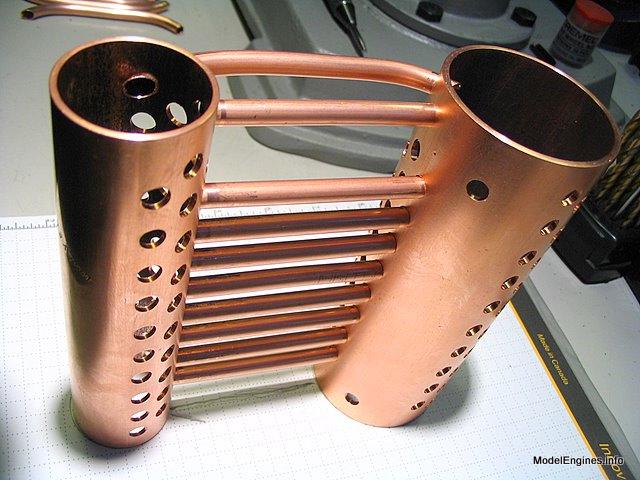
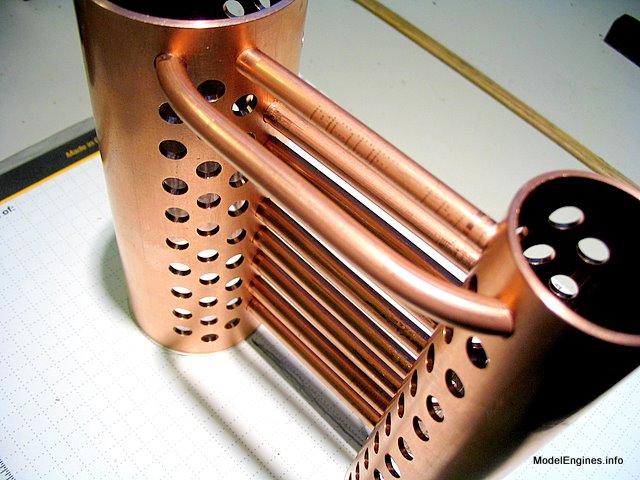
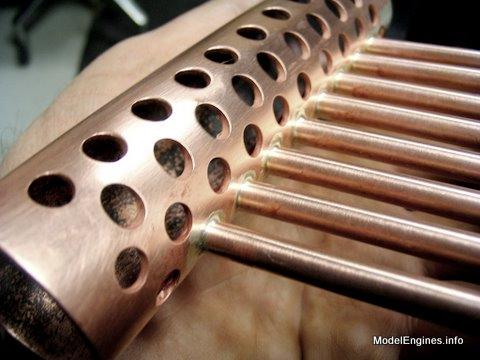
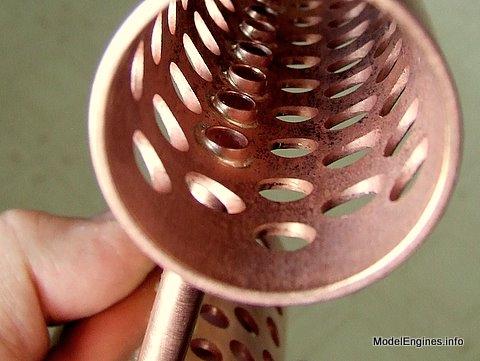
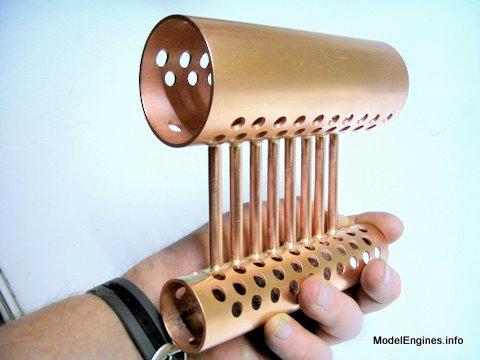
Final reaming to size:holes for the two safety valve bushes (not bushings!)That reaming is being conducted in my new drill press (the liquid is oil)OK - here it starts: Tubing the BoilerThree lengths of tubes(there are still 28 boiler tubes yet missing from this picture)Here is my latest (and first) store-bought bending toolSplit grooves surround the tubeAction!Test-fitting four tubes in the boiler's convection bank
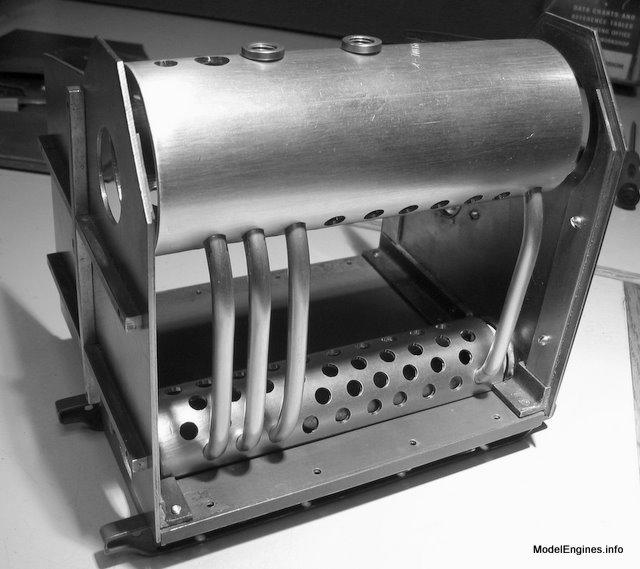
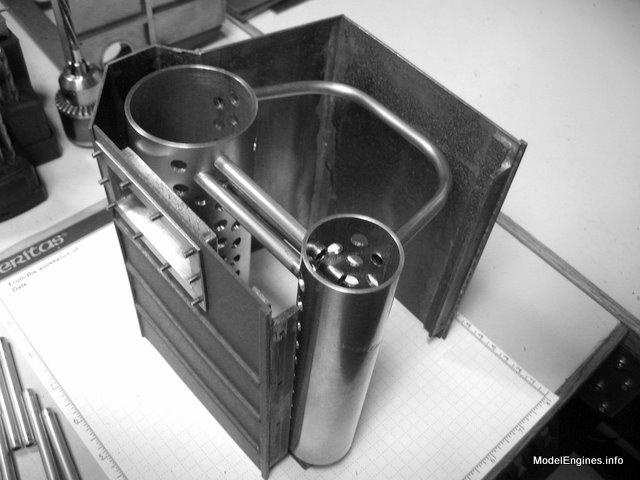
 Red marks are from a grease pencil - not bloodThe three empty rows plus back side of existing row make up the convection bank(the D-shaped water-walled furnace will be constructed beyond the existing row)Another viewThe dots on the tube spell: (MADE) "IN CHINA"Just a B&W photo to show the eventual layoutHere's the cover (roof/walls) unit - standing on endThe D-shaped furnace area is visible here. Insulation will eventually surround the entire inner unit.Of course up until this point the tubes had only been tried in position.I started brazing yesterday afternoon. It was a bit of a comedy after the first row tubes was brazed-in to one of the drums. Apparently I had made some sort of miscalculation on the diagram and they were too short to allow the overall height of the assembly to be correct.. hmmm.....could this be old age?
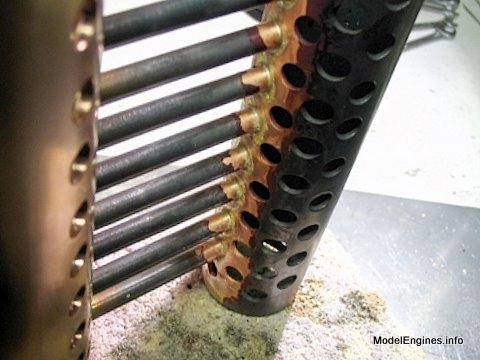
Anyhow, I re-melted the brazing alloy and pulled out and discarded all the tubes. I pickled, cleaned, re-reamed the holes and installed newly-made tubes. Fortunately my mistake was discovered after only the first eight tubes were installed - it could have been a whole lot worse!Still hot - and blackened!Here are the proper-length tubes brazed into those very same holes
In future I vow to never draw a diagram again for an important job until after that job is finished!
(For me it just provides two places to make a mistake instead of one. From now on I will measure everything in position and draw pictures later!)It looks much better after the pickleAbove and Below: The brazing alloy has penetrated the joints around the tubes nicelyWe'll just see how all this turns out after all the brazing is finished!I have to place a large baffle behind this row. Due to that same defective diagram, I also must further ream two rows of holes in the lower drum again to suit the newly-increased angle created between drums by the slight change in length of the curved-end tubes. But I'm having fun :-)Dirtywork to come !
You are on Part 3